实现自动化部署Hexo到Github Pages.
通过 GitHub Actions 可以只提交源码到仓库,后续流程全部由 CI 自动完成,本质上是完成以下几个步骤:
- checkout 源码
- 配置环境
- 生成静态文件
- 部署到对应平台(GitHub Pages / Vercel / Server…)
创建个人访问令牌(Personal Access Token)
由于Github权限限制,要实现向 username.github.io 仓库推送代码同步执行Github Actions自动部署,需要在GitHub账户中创建一个具有足够权限的个人访问令牌(Personal Access Token,简称 PAT)。
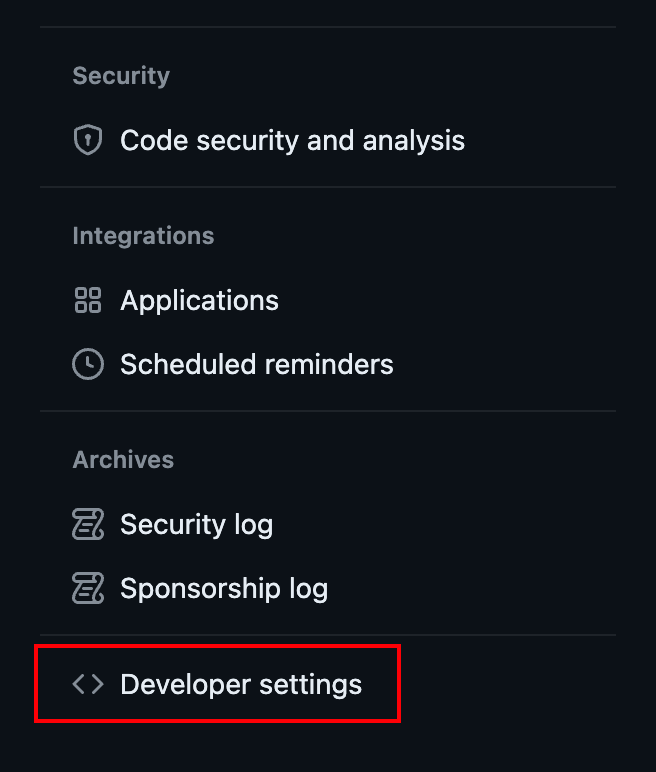
Github主页右上角头像 -> 打开 Settings -> 左边栏滚到最后找到 Develop Setting 点开:

左侧 Personal Access Token 点击 Tokens(classic) -> 选择 Generate new token (classic) :

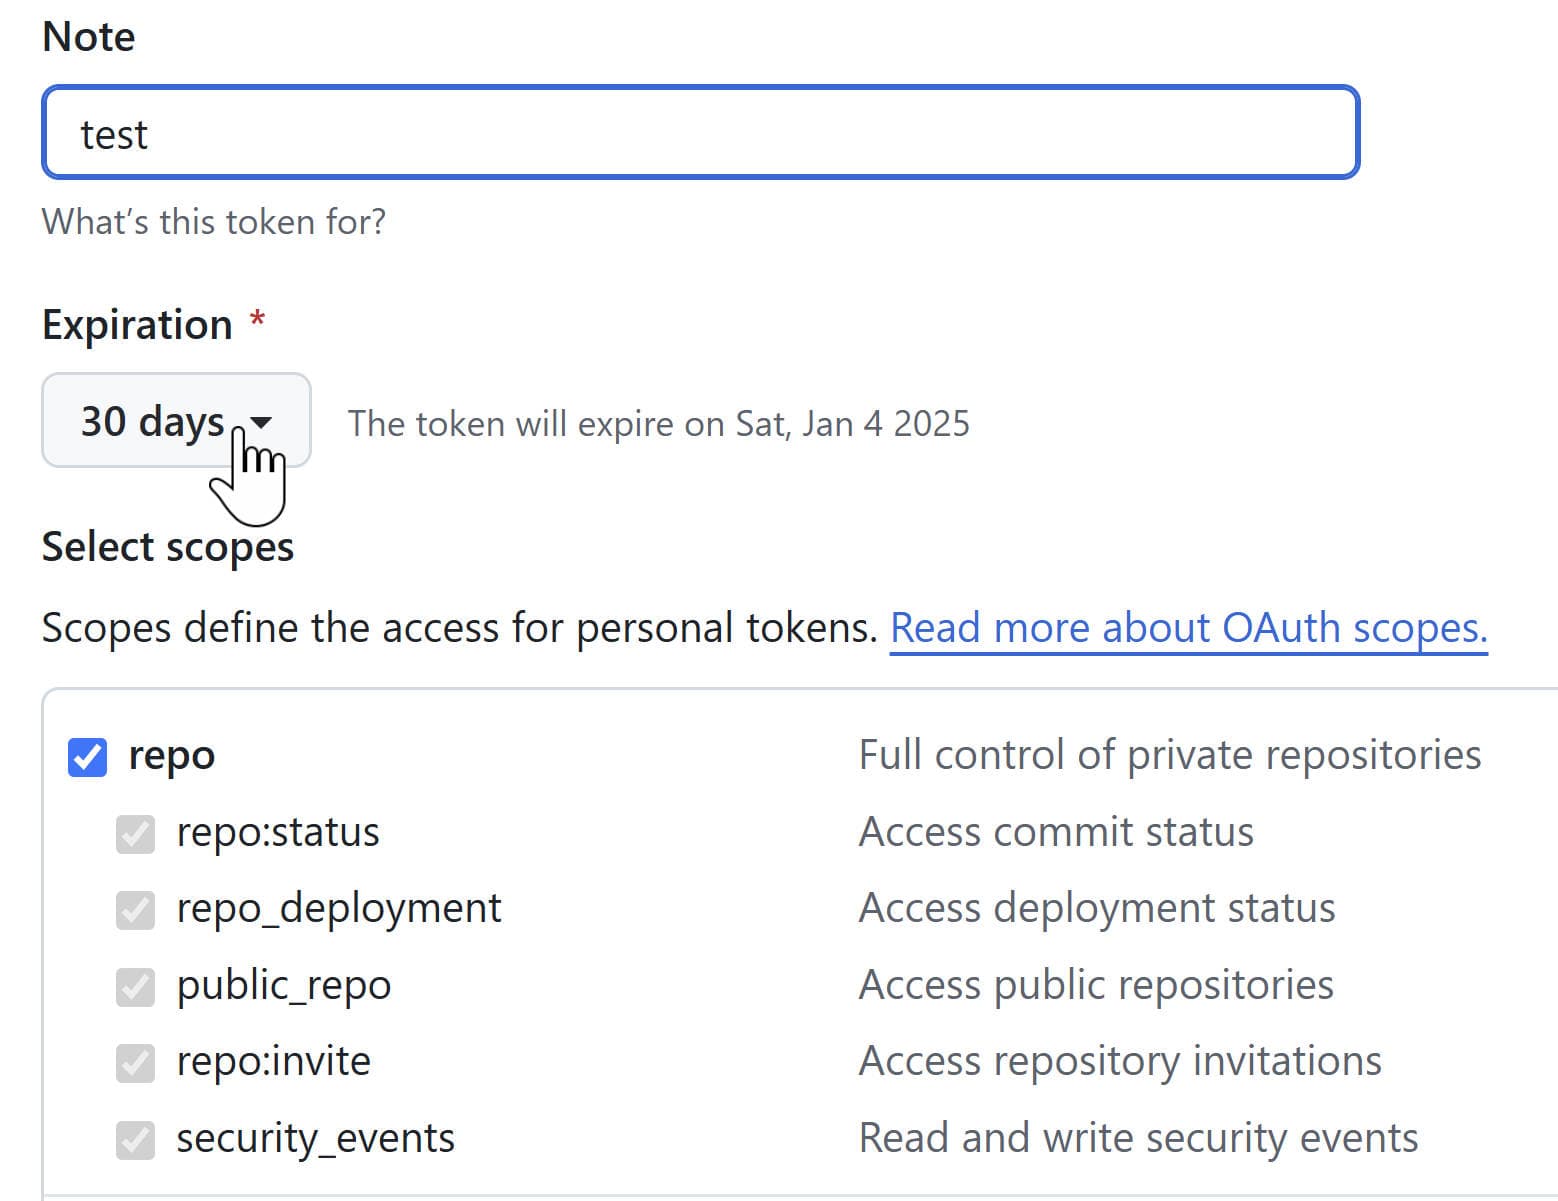
令牌随便起个名字,勾选红框中的 repo 的访问权限,点击生成 token。(注意:保存这个令牌,仅显示一次。)

将生成的 PAT 添加到Hexo博客源代码仓库的 **Secrets **中,名字填入 PERSONAL_TOKEN 后面会用到这个变量名(也可以自己起个名字):

创建 GITHUB ACTIONS 脚本
本地 Hexo项目根文件目录下创建一个 .github/workflows 文件夹。
在该文件夹内创建一个新的 YAML 文件(auto-deploy.yml),用于定义 GitHub Actions 工作流。
复制如下配置到 YAML 文件: 注意⭐部分需要改动相应配置。
1
2
3
4
5
6
7
8
9
10
11
12
13
14
15
16
17
18
19
20
21
22
23
24
25
26
27
28
29
30
31
32
33
34
35
36
37
38
39
40
41
42
43
44
45
46
47
48
49
50
51
52
53
54
55
name: auto deploy
on:
workflow_dispatch:
push:
jobs:
build:
runs-on: ubuntu-latest # 运行环境为最新版 Ubuntu
name: auto deploy
steps:
# 1. 获取源码
- name: Checkout
uses: actions/checkout@v3 # 使用 actions/checkout@v3
with: # 条件
submodules: true # Checkout private submodules(themes or something else). 当有子模块时切换分支
fetch-depth: 0
- name: Restore file modification time 🕒
run: find source/_posts -name '*.md' | while read file; do touch -d "$(git log -1 --format="@%ct" "$file")" "$file"; done
- name: Restore file modification time of wiki🕒
run: find source/wiki -name '*.md' | while read file; do touch -d "$(git log -1 --format="@%ct" "$file")" "$file"; done
- name: Restore file modification time of notes🕒
run: find source/notes -name '*.md' | while read file; do touch -d "$(git log -1 --format="@%ct" "$file")" "$file"; done
# 2. 配置环境
- name: Setup Node.js 18.17.x #⭐改成自己的版本,node -v查看
uses: actions/setup-node@master
with:
node-version: "18.17.x" #⭐改成自己的版本,node -v查看
- name: Install pandoc
run: |
cd /tmp
wget -c https://github.com/jgm/pandoc/releases/download/2.14.0.3/pandoc-2.14.0.3-1-amd64.deb
sudo dpkg -i pandoc-2.14.0.3-1-amd64.deb
# 3. 生成静态文件
- name: Generate Public Files
run: |
npm i
npm install hexo-cli -g
hexo clean && hexo generate
# 4a. 部署到 GitHub 仓库(可选)
- name: Deploy to GitHub Pages
uses: peaceiris/actions-gh-pages@v3
with:
deploy_key: ${{ secrets.ACTION_5MG }} #⭐改成刚才的变量名
external_repository: SM5mg/SM5mg.github.io #⭐改成自己的仓库
publish_branch: gh-pages
publish_dir: ./public
commit_message: ${{ github.event.head_commit.message }}
user_name: 'github-actions[bot]'
user_email: 'github-actions[bot]@users.noreply.github.com'- 本地 Hexo 项目文件夹重新部署上线, Github 仓库即可触发 Github Actions 工作流实现自动部署。
创建本地CNAME文件
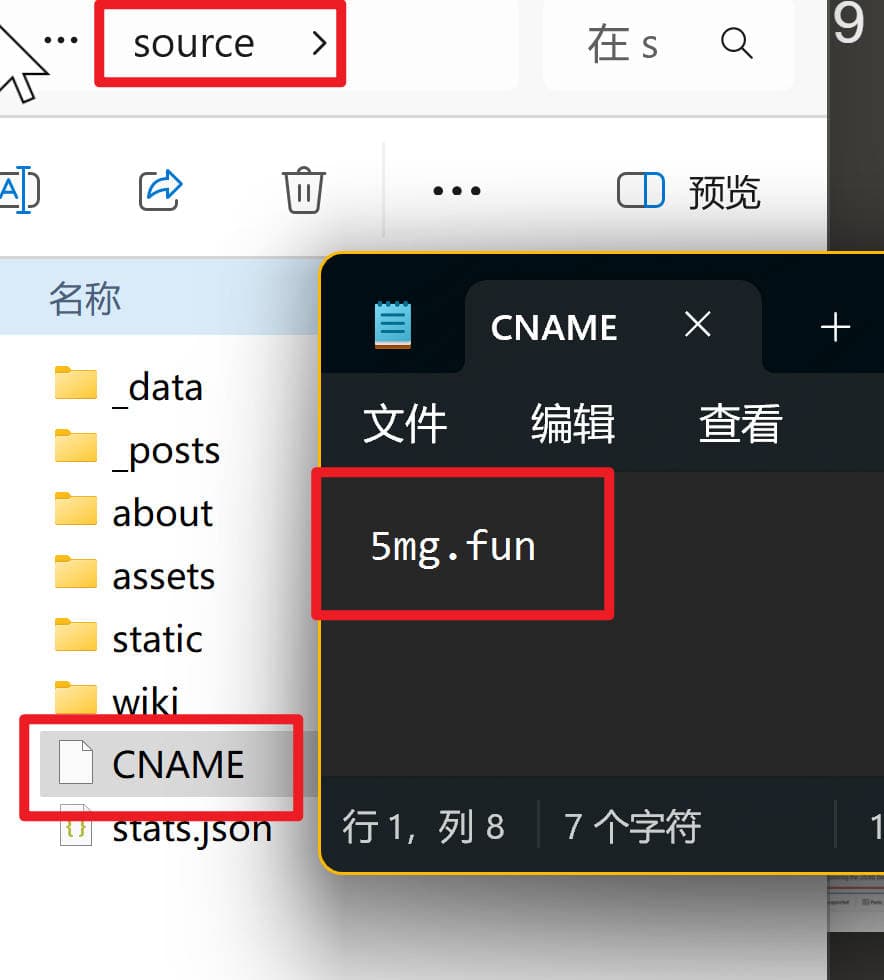
为了解决 hexo d部署后总需要在 Github Pages 重新填写域名Custom domain的问题,可以在本地的/blog/source/文件夹里新建CNAME文件,里面写上域名如:5mg.fun,再次重新部署就OK。

设置 npm run 运行脚本
打开博客的 package.json 文件,在 scripts 部分增加这些快捷指令:
1 | |
这样输入 npm run b 就相当于输入 hexo douban 了,
除此之外你也可以根据自己的需要增加其他脚本。


